显示器氛围灯实现
材料
硬件
WS2812B灯带 长度为显示器背面贴一圈的长度
Arduion Nano等开发板 示例使用teensy 2.0++
5v充电头 灯带功率较高 usb口功率只有几百毫安带不起来
导线
软件
Prismatik
https://github.com/psieg/Lightpack/releases
Arduion
https://www.arduino.cc/en/Guide
制作步骤
teensy 2.0++
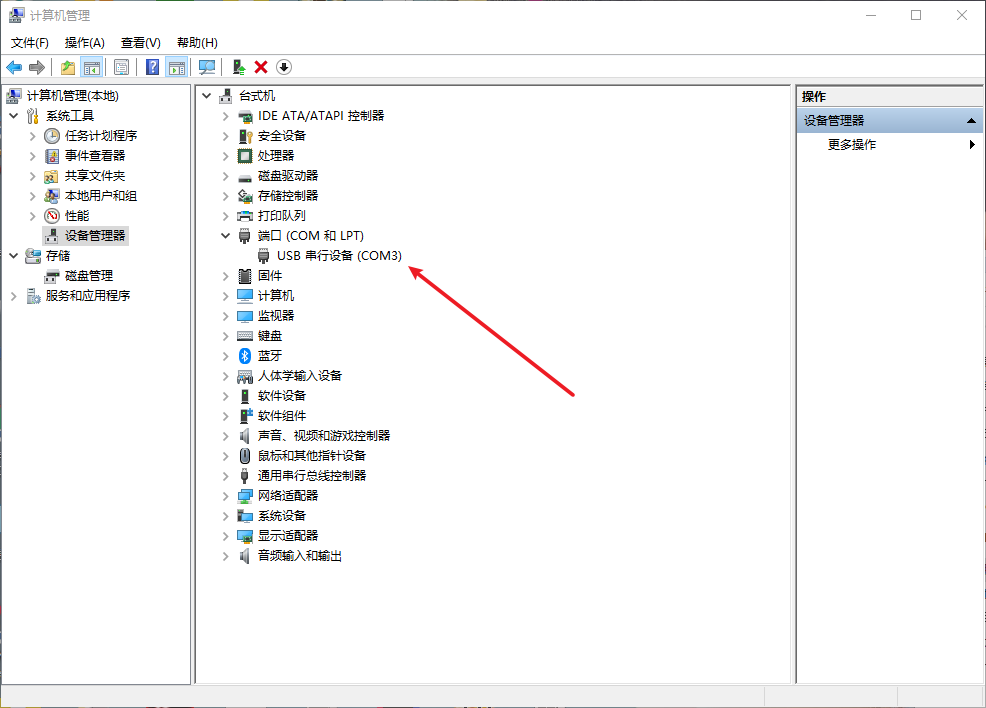
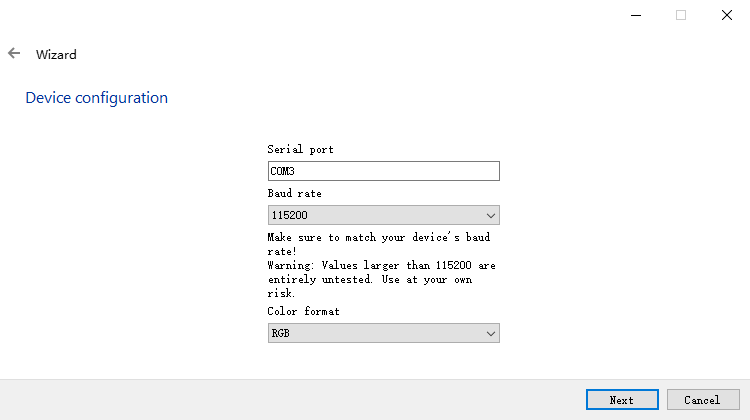
插入teensy 2.0++到电脑端并查看端口 这里为COM3端口
Arduion
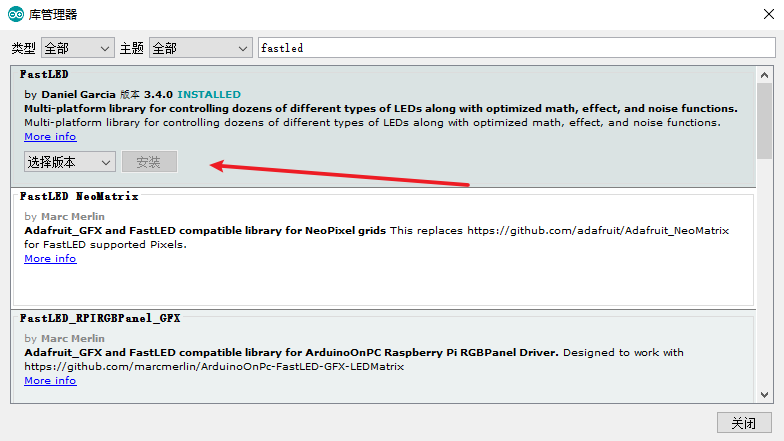
打开Arduion 选择工具/管理库 搜索fastled并安装
安装完成后进入项目/加载库找到 fastled 点击加载 出现 如下内容即表示加载成功
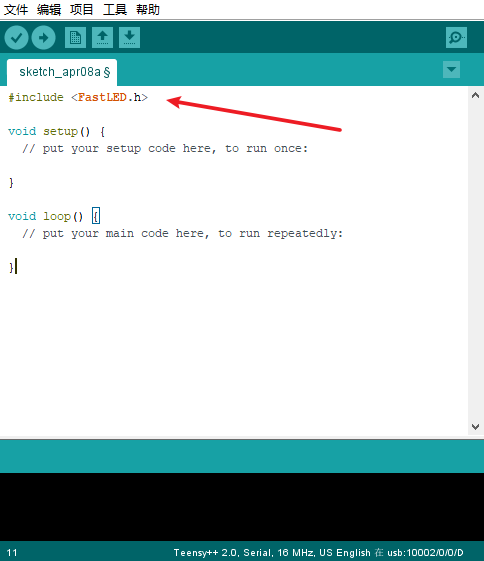
删除代码插入如下内容
#include <FastLED.h>
#define NUM_LEDS 98
#define DATA_PIN 5

// Baudrate, higher rate allows faster refresh rate and more LEDs (defined in /etc/boblight.conf)
#define serialRate 115200

// Adalight sends a "Magic Word" (defined in /etc/boblight.conf) before sending the pixel data
uint8_t prefix[] = {'A', 'd', 'a'}, hi, lo, chk, i;

// Initialise LED-array
CRGB leds[NUM_LEDS];

void setup() {
  // Use NEOPIXEL to keep true colors
  FastLED.addLeds<NEOPIXEL, DATA_PIN>(leds, NUM_LEDS);

  // Initial RGB flash
  LEDS.showColor(CRGB(255, 0, 0));
  delay(500);
  LEDS.showColor(CRGB(0, 255, 0));
  delay(500);
  LEDS.showColor(CRGB(0, 0, 255));
  delay(500);
  LEDS.showColor(CRGB(0, 0, 0));

  Serial.begin(serialRate);
  // Send "Magic Word" string to host
  Serial.print("Ada\n");
}

void loop() {
  // Wait for first byte of Magic Word
  for(i = 0; i < sizeof prefix; ++i) {
    waitLoop: while (!Serial.available()) ;;
    // Check next byte in Magic Word
    if(prefix[i] == Serial.read()) continue;
    // otherwise, start over
    i = 0;
    goto waitLoop;
  }

  // Hi, Lo, Checksum
  while (!Serial.available()) ;;
  hi=Serial.read();
  while (!Serial.available()) ;;
  lo=Serial.read();
  while (!Serial.available()) ;;
  chk=Serial.read();

  // If checksum does not match go back to wait
  if (chk != (hi ^ lo ^ 0x55)) {
    i=0;
    goto waitLoop;
  }

  memset(leds, 0, NUM_LEDS * sizeof(struct CRGB));
  // Read the transmission data and set LED values
  for (uint8_t i = 0; i < NUM_LEDS; i++) {
    byte r, g, b;
    while(!Serial.available());
    r = Serial.read();
    while(!Serial.available());
    g = Serial.read();
    while(!Serial.available());
    b = Serial.read();
    leds[i].r = r;
    leds[i].g = g;
    leds[i].b = b;
  }

  // Shows new values
  FastLED.show();
}
需要改动的地方有两个:
+ NUM_LEDS led总数量
+ DATA_PIN 数据输出口
修改完毕记得保存
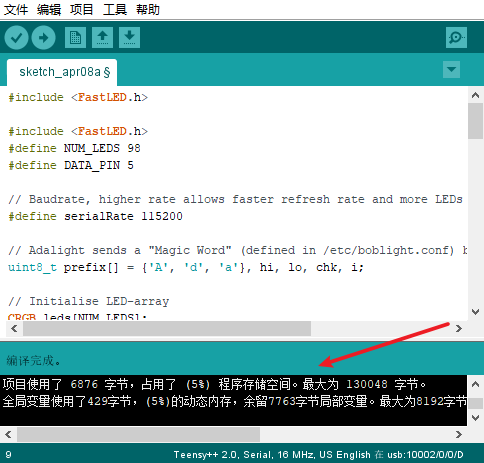
点击验证 出现如下内容即表示验证通过 点击上传将代码写入开发板中
安装灯带
灯带有三根线
红色 :正极+
白色 :负极-(接地GND)
绿色 :数据线+
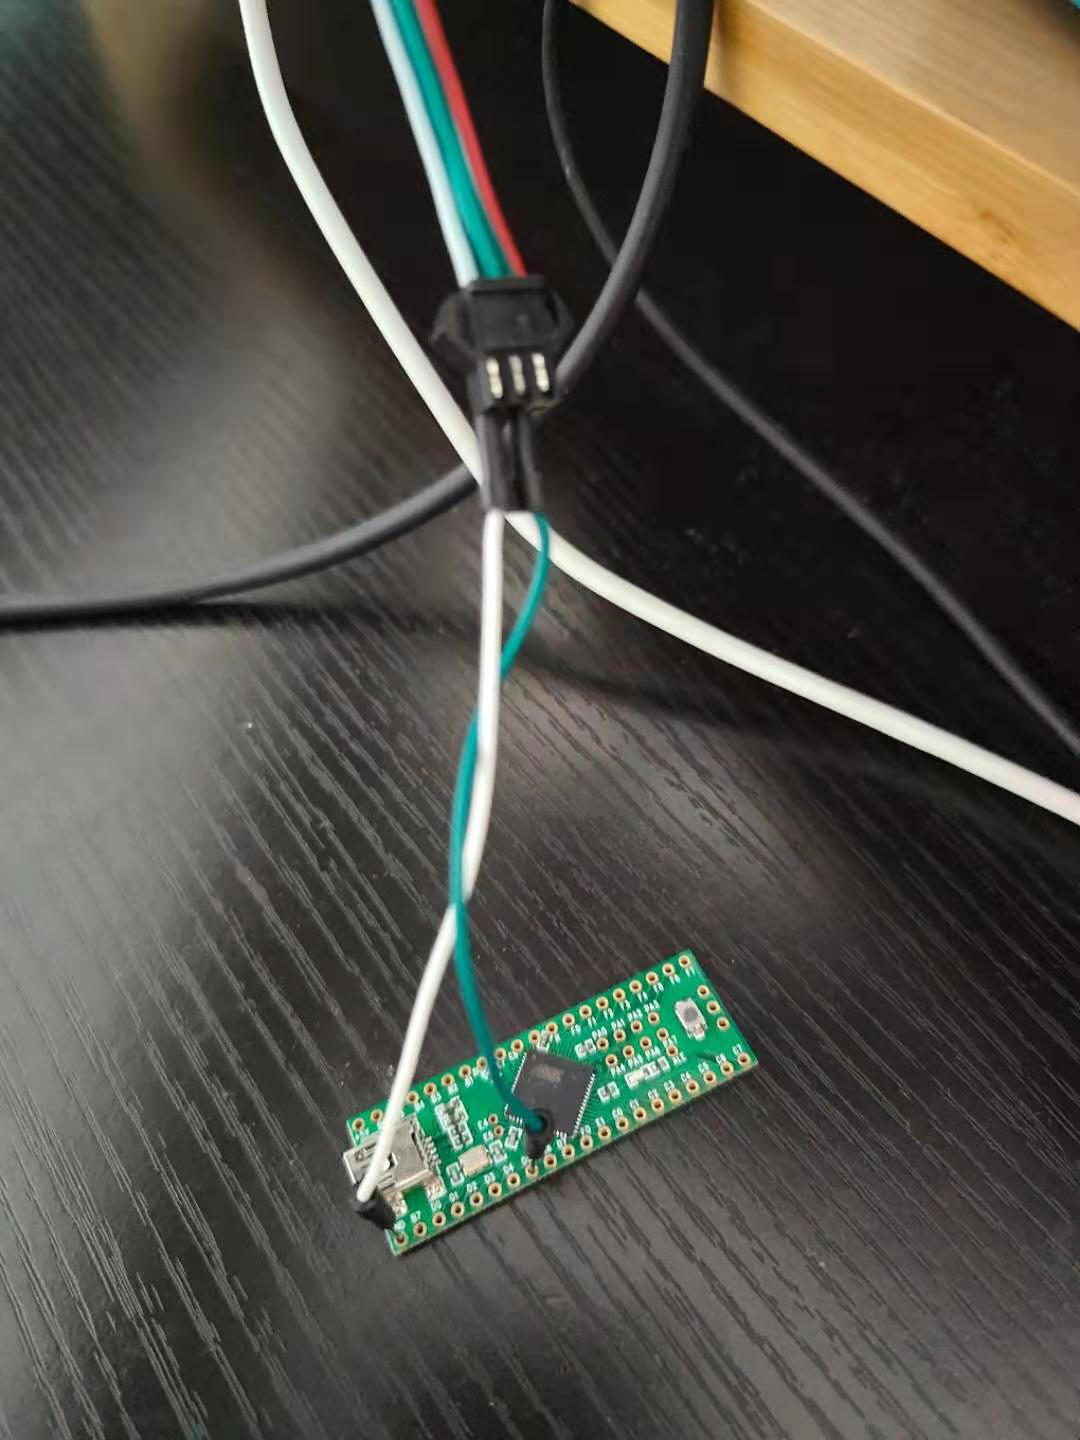
还有两根独立的红白线
独立的红白线接充电头正负极
绿色线接DATA_PIN对应接口
白色线接开发板gnd接口
灯带绕着显示器背面粘贴 如拐角不好弯折可选择剪断另外接线

Prismatik
安装 Prismatik
点击devices
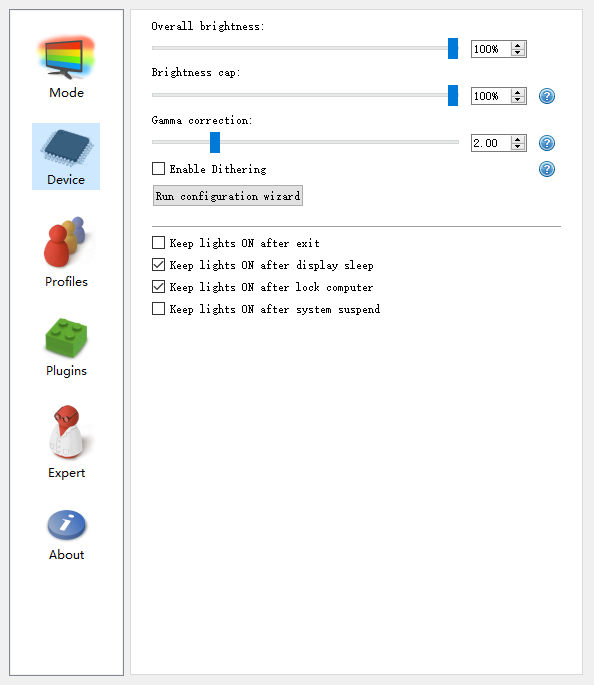
选择run configuration wizard
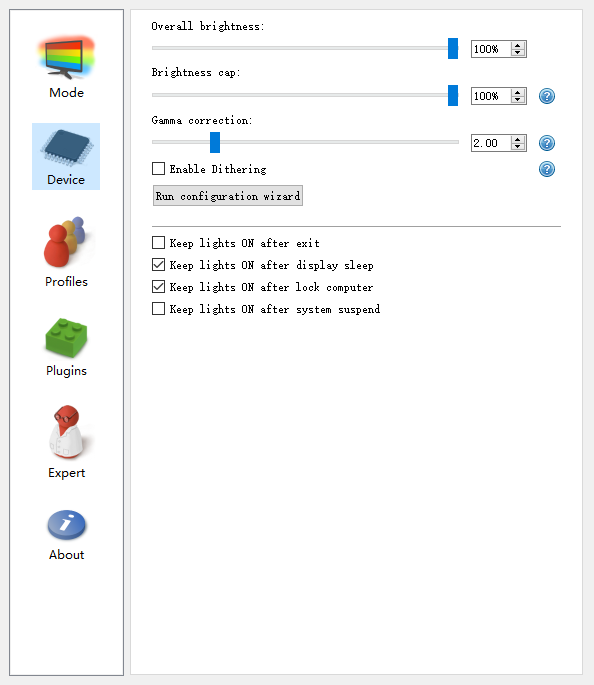
点击下一步
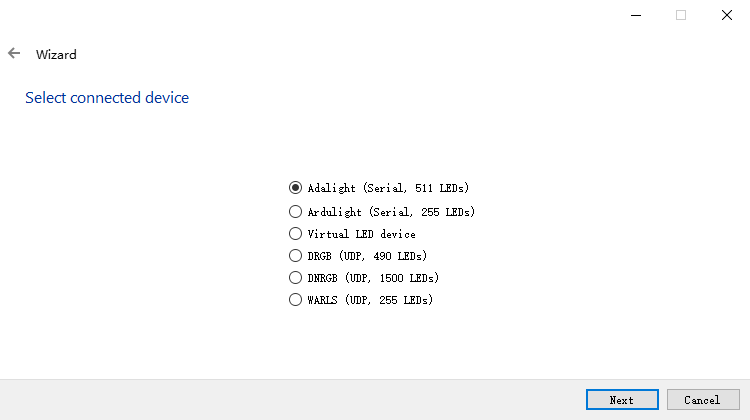
写入端口 点击下一步
选择灯带放置方式

一直下一步直到结束
任务栏右击图标 turn on即可开启灯光效果
